Use your Tapo C325WB behind a window
Overview #
I have a couple of Tapo C200 cameras at my front windows. They’re mainly for observing wildlife. I am surprised by the amount of activity we get here despite being on a main road. We see all sorts like foxes, cats and various types of birds.
The biggest issue I have though - particularly noticeable at this time of year - is the poor low light performance. Two big issues: visibility in general and ghosting which is where you will see less bright or contrasting parts of a moving object just become one with the rest of the scene.
I stumbled across the C325WB model while looking at “StarVision” sensors. This camera does not have a StarVision sensor but instead it boasts something a bit different called “ColorPro” which claims to have excellent low-light performance.
I tried one out by just pressing up against the window for a few nights and I am so happy with the results. I can see the front of the house and the neighbourhood fox with a nice sharpness and very little ghosting even in the middle of the night.
The only problem is that at night when the lights are on in the room, the camera gets a reflection of everything going on in the room and it obscures the image of outside. It’s easily solved though, you just need an enclosure that prevents the sensor seeing light from the room behind. So this enclosure solves that problem.
Design goals #
- An enclosure for using through a window where mounting outdoors is not appropriate.
- Remove reflections from the room behind the camera.
- Keep the camera stable in wind or when the window is opened/closed.
- Install without permanent changes to the frame.
Model #
The model you can view below. If you click through to it you’ll see photos of the one I printed.
I additionally printed a suplementary set of legs which match the height of the window frame. Then, it’s simply fixed to the window with sticky tack.
Tapo C325WB Window-Flush Housing
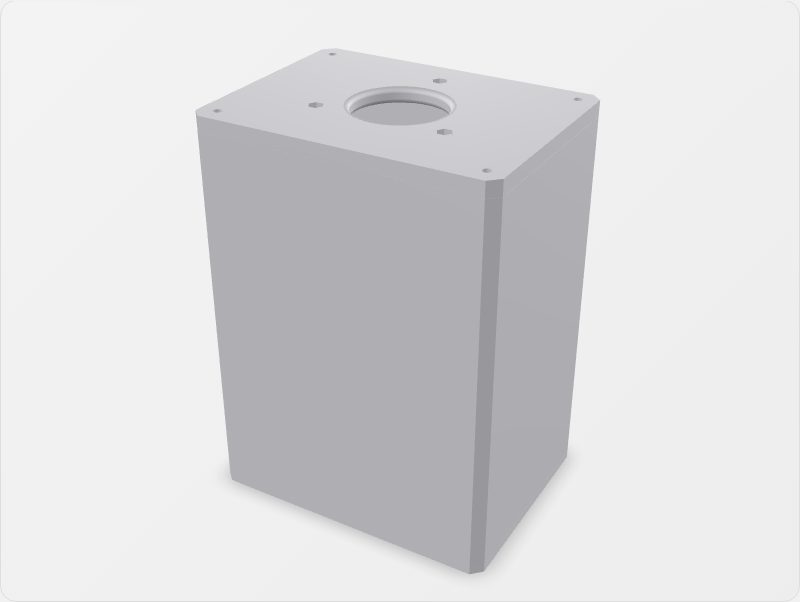
Window-flush housing for the Tapo C325WB camera. If you use the camera up against a window like I do, this gives you something to place flush with a window to avoid glare from light in the room behind the camera.
Printing #
- Material: PLA+ (I used Sunlu PLA+ 2.0)
- Nozzle: 0.8mm
- Walls: 3
- Infill: gyroid
- Supports: none
Your slicer should be able to auto-orient the pieces to print support-free.
Assembly + install #
Hardware needed:
- Superglue.
- 4x 3.5x10 self-tapping screws (pan head recommended).
- 3x 3x10 screws (pan head recommended).
- 3x M3 nuts.
Steps:
- Print all three pieces using the 3MF provided. If your slicer asks to combine the parts into one, say no.
- Superglue the front of the housing to the body. The front piece is the one with just one hole and a tab in each corner. Leave for 24 hours (or until fully cured) because there is nowhere for glue fumes to escape once assembled.
- Tap the M3 nuts into the hexagonal recesses on the backplate.
- Feed the ethernet and power cables through the center hole, then fix the camera to the backplate using the 3x10 screws in the three mounting holes. Keep the nuts on the outer face.
- Straighten the camera so the antennas are horizontal, then insert it into the housing while aligning the lens with the front hole.
- Screw the backplate in place using the 3.5x10 self-tapping screws in each corner, keeping the lens centered.
- Place the assembly flush with the window to take advantage of the camera’s low-light performance from indoors.